Configuration
This is why we take a Synology DS918+ from storage and install it as a dedicated storage medium for our Foscam cameras. We press in four hard disks and let the NAS set itself up. After installing the DSM system software and updates, we install the surveillance station manually via the Package Center. Click here for more information on the Synology website. After starting up the installed app, the DSM transforms into a full-screen surveillance station. From this app, we can log into cameras, make settings and view timelines. We start by adding an IP camera.
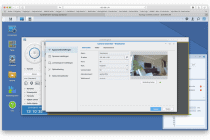
Registering a new camera is very easy, especially with the information from the Foscam tool. 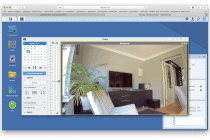
When you need it, you can easily scroll the timeline to find the desired event. 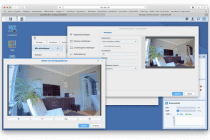
Very easy to set up the detective areas via the NAS
Now it is not the case that Synology Surveillance Station immediately detects all cameras in the network and our Foscam cameras remain – as we expect from them – incognito. Whether we want to log the cameras on to the NAS or go deeper into the camera’s capabilities, we need the camera’s IP address and port in all cases, and this is unfortunately not shown in the smartphone app. Without this golden combination we will not be able to access the web interface of the camera itself, which would be very useful for the configuration.
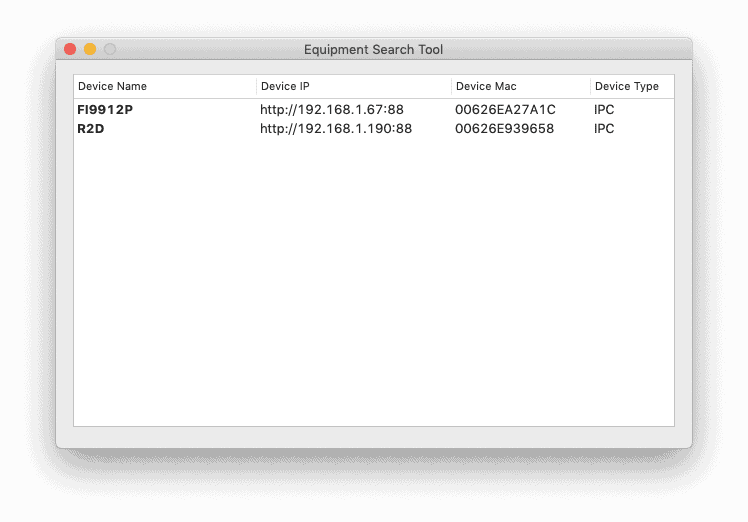
To find out the IP address, we decide to use Foscam’s IP camera tool, called Equipment Search Tool. This tool can be downloaded free of charge from the importer’s website for Windows and Mac computers. We download version 1.0.0.3 for the Mac. The Foscam camera tool directly displays both cameras with the corresponding IP address, port and device type. In this case, port 88. From this tool you can also directly access the web interface of the camera.
Through the side door
Why use the web interface when you can also change the settings via the smartphone app? The Foscam app is a powerful tool for logging in to a new camera, quickly checking footage and making small changes to the configuration, wherever in the world you are at that moment. Now the Foscam cameras have more functionality and settings available than the app actually offers. All this functionality is easily accessible via the web interface of the camera itself. This page has a more extensive range of settings available with which the camera can be configured exactly as desired.
Within this environment, the camera can be precisely adjusted for the application and location where it is mounted. Think of the settings for motion detection, defining the detection zone and blocking specific parts of the image. This is to protect the privacy of third parties and to limit the alertness of the camera in certain situations. We adjust the relevant settings for our situation and tweak the camera in such a way that we minimize ‘false positives’; registering exceptions when nothing seems to be wrong and ‘false negatives’; not registering the moment that someone – say – runs off with your convertible or garden bench.
The web configuration via the Foscam web interface has more configuration possibilities than the Synology NAS offers us. If the registered camera has less functionality than the NAS offers, choose the settings of the NAS. For cameras with extended functionality, Synology’s Surveillance Station can maintain the camera’s settings, and the NAS is only used to store the images. In this way, the specific advantages of the camera are also maintained via the NAS.
NAS or cloud storage?
Perhaps after purchasing a Foscam camera with cloud support, you will be shocked by the additional costs of an additional cloud subscription. However, such a subscription can be an interesting investment for many users because a NAS with four storage bay’s costs hundreds of euro’s and on top of that the investment in hard disks. These NAS and disks don’t have eternal life, and you have to reserve a small amount of money each month to replace them over time. This, in some cases, amounts to a few tenners per month, but depending on the type of NAS and the number of hard disks, this amount can be significant. So, in some cases, a Foscam cloud storage subscription may be a smarter choice.
However, the deployment of a NAS could be interesting. Especially when the cameras can’t handle cloud storage. If you already have a NAS that you use for multiple applications, do not use the entire bandwidth for streaming audio or video and have more than enough disk capacity, you can allocate part of this disk space for surveillance equipment. If you use the (older) NAS for heavy streaming content or for the storage of large (image) files, then the bandwidth of the NAS may come under some pressure in some circumstances. For this reason, it is important to map out on what part of the day which data streams are running on the network and, of course, what the capacity of the network is.
Old and written off? No problem
When using the NAS in RAID configuration, even jamming an old written-down NAS with written-down hard drives should not be a problem at all. It’s just a matter of switching to an identical hard drive and things go on without a hitch. In addition, if you are able to back up a large SD card to the camera, you will even have a temporary backup in case the power supply or mainboard of the NAS dies. Chance is small, but present. In that case, you can easily insert the hard disks into a new NAS of the same brand and, after an automatic migration, the whole thing will be up and running again in no time at all.
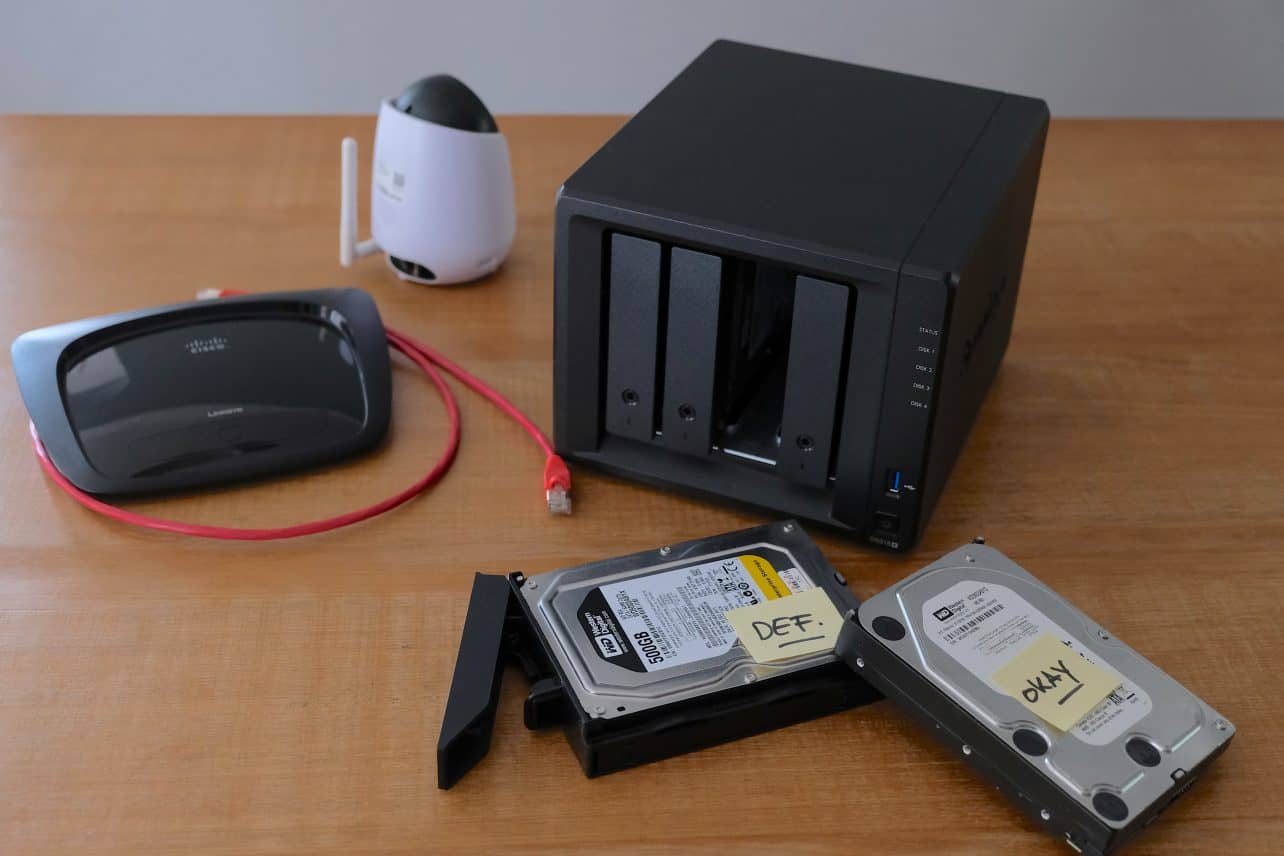
Harddisk bad or jammed? The NAS indicates exactly which disk is suspicious and can be exchanged for an identical one in an instant. After plugging in, the NAS itself takes care of updating the structure. 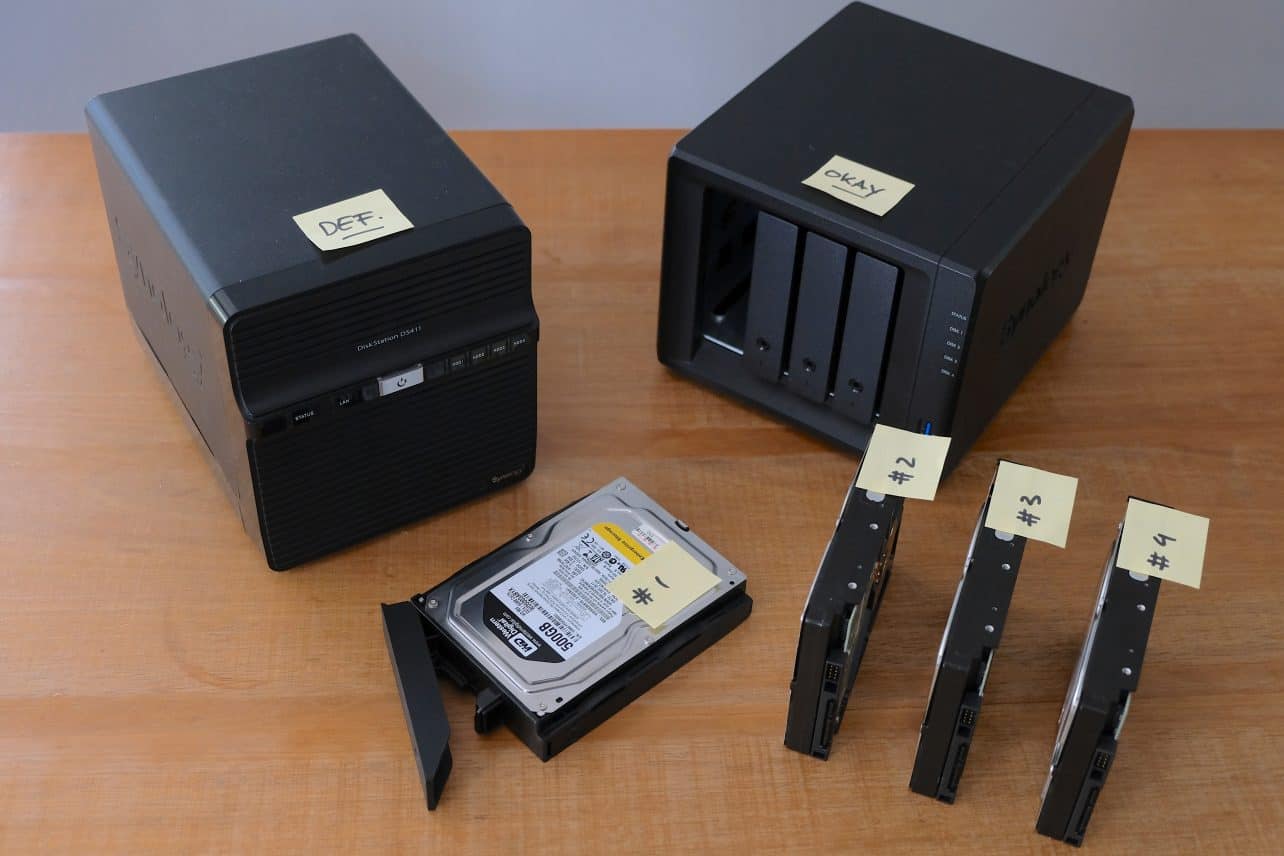
NAS deceased? No problem. Plug the disks into a newer NAS and it will be ready for its task after migration.